The post in this series are all part of the 2021 Sugar Bear Quilt Along.
To view all posts in this series, click here.
If you need the pattern, you can find it here.

We are going to get the hardest part of this quilt out of the way right in the beginning! This will make block-making so much easier as we go along. We’ll be able to just grab our finished claws when we are ready for them.
If you haven’t signed up for the quilt along yet, you can do so here. This will just send bi-weekly prompts every other Wednesday to your inbox so that you don’t miss a post.
Let’s get to it!


Half Rectangle Triangles
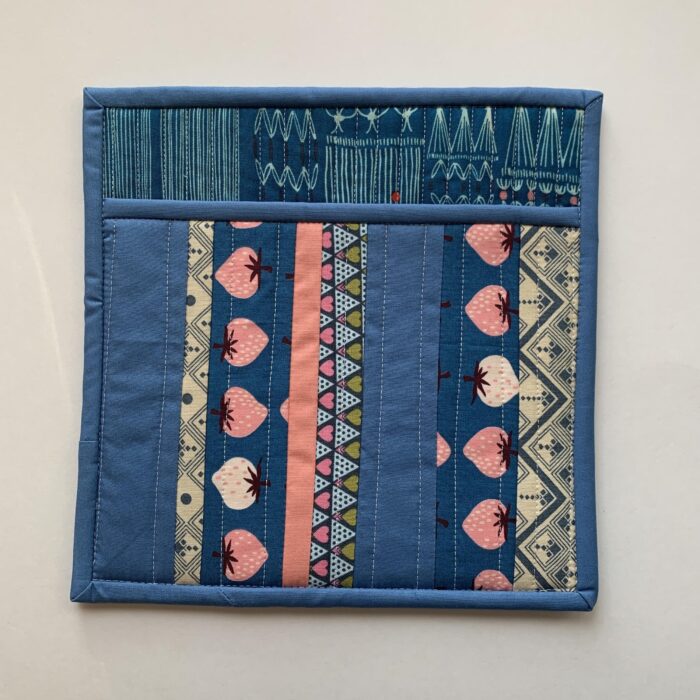
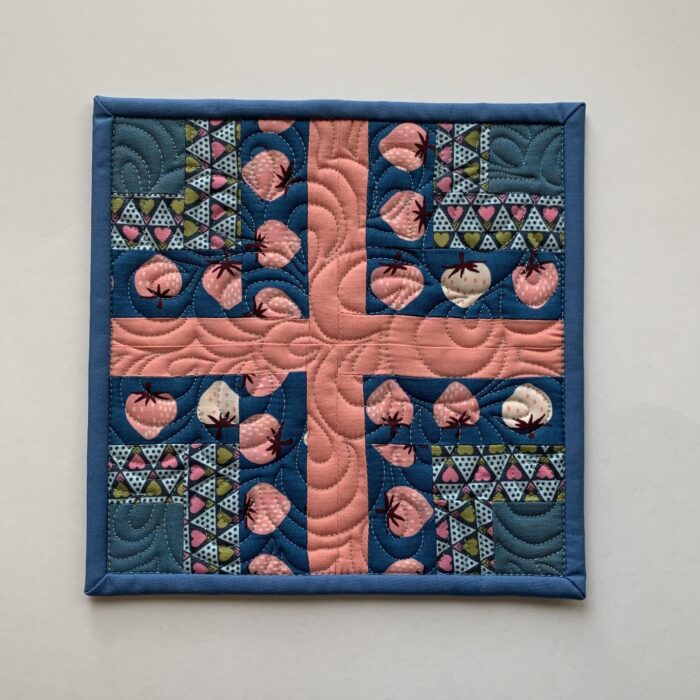
The half rectangle triangles that we are making this round become the “claws” of your bear paw blocks. Yes, they are going to take you some time, and yes, they can be a smidgen finicky if you’ve never done them before. BUT my, my, my do they look wonderful in the blocks.
Resign to the fact that this will be a very involved part of this quilt. When I get my expectations into realistic terms, I find it’s a much more healthy and helpful attitude to having going in. Don’t try to whip through these. Break it up into batch tasks a little each day. Remind yourself that this isn’t a race. You have two weeks to complete these little devils and that’s just if you want to keep to the timeline. Definitely not mandatory.
You should have background already cut, so maybe the first part you just cut your foreground rectangles and the second part maybe you draw your lines on the background rectangles (be sure to pay attention to the pattern on this part). Sewing them up is one of the easier task. One day I sewed them, one day I pressed them, and one very long day I trimmed them. Although for best practice, I probably should have broken that up into two or three days. I happen to like methodical monotony. Ha! So I have no problem spending several hours with my HRTs, bingeing a current show and getting the job done.
But do what’s best for you!
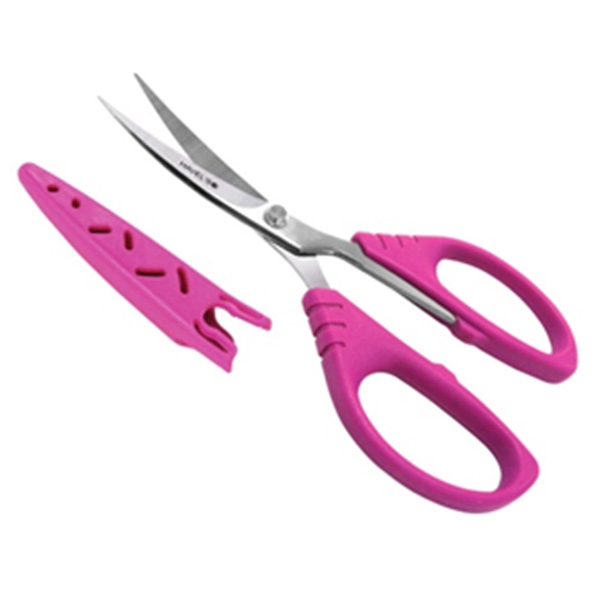
Product Spotlight
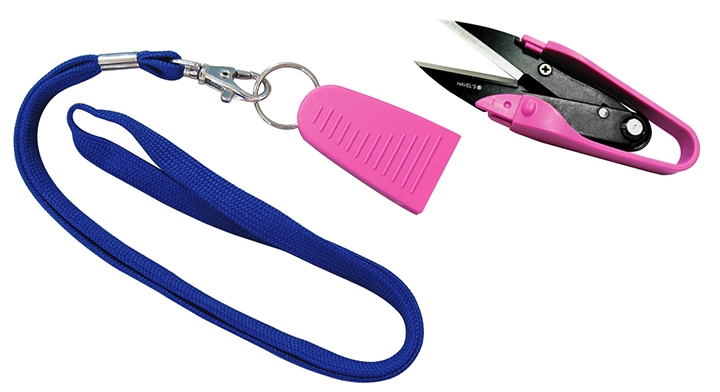
4 3/4″ DURA-SNIPS WITH NECK STRAP

This Round’s Task
We are making all 144 HRTs and pairing them up into “claws”.
Tips
- Don’t forget to split your background rectangles into two stacks. Each stack gets the line drawn in a different direction. I cannot say more about how important this is to get right.
- One more important tip! You must also have your foreground rectangles into two stacks. You need four rectangles per foreground color in each stack. Having this accurate will guarantee that you have all the units for your claws that you need going in the accurate directions.
- Go bananas with the starch, it helps. 🙂


Giveaway
Just a reminder, you can enter the giveaway by posting your progress on Instagram using the #SugarBearQA. Havel’s will be giving away random prizes to one winner each week. Winners will be chosen and announced on Instagram @Havels_Sewing the Tuesday before the “next” post goes live. You don’t have to be completed with each pattern release to win, you only have to post progress.
You do have to be following @Havels_Sewing and @SouthernCharmQuilts to be eligible. You must have a US address to ship to.

I have been loving seeing what you are up to with this quilt along. Be sure you are using the #SugarBearQA. so everyone participating can see too. Y’all are all so encouraging. It makes my heart happy.
As I’m sure many of you know, I’m just in love with half rectangle triangles. I think they add such a spark to traditional blocks and the Bear Paw is such an oldie and a good one. I’ve crafted several quilt patterns just to feature them. If you need a little help feel free to reach out. We have such a great group participating! You’ll get the help you need.

 Melanie Traylor ~ Southern Charm Quilts