Matchbook Style Kindle Cover: A Free Craft Project
By Jamie Fingal
You can make this project with fused scraps, or by selecting the fabrics that you desire from your own stash. I would suggest that you choose 6-8 different fabrics that are the same value, but have contrasting colors, so that when you make your design, the colors will pop when placed side by side.
Materials
• 1/2 yard of wool blended felt
• Fused scraps
• Mistyfuse
• Goddess sheet or parchment paper
• Thread for free motion machine quilting
• Adhesive Velcro
• 2 straight pins
• Comfort Rotary Cutter
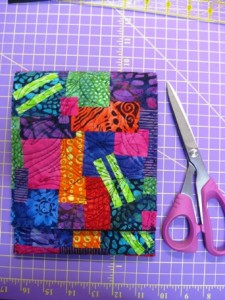
• 8″ Havel’s Scissors for precision cutting
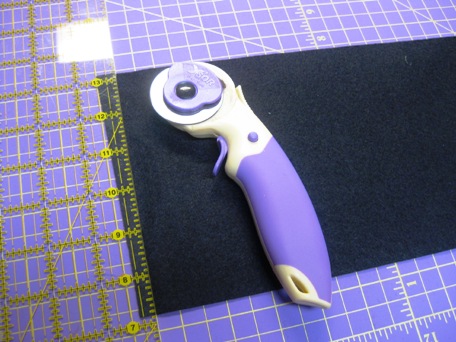
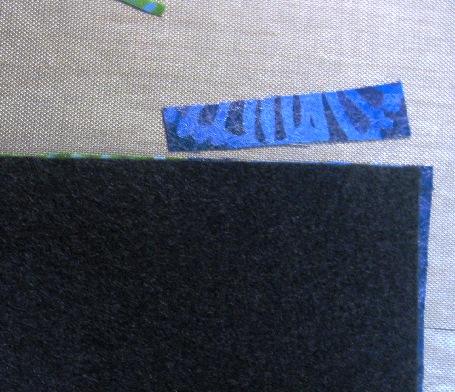
1. Cut 2 pieces of wool blended felt 17 1/2″ long by 6″ wide
with a rotary cutter on a mat with a ruler. Set aside.
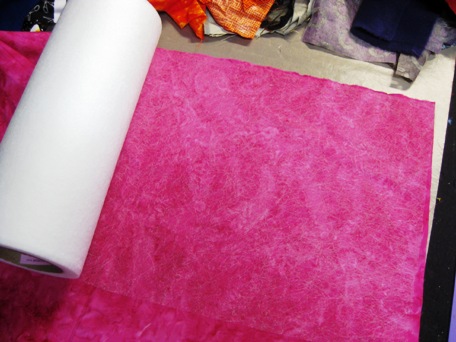
2. If you don’t have any fused fabrics, you can use Mistyfuse – lay the fusible web on the wrong side of the fabric, making sure none of it goes over the sides.
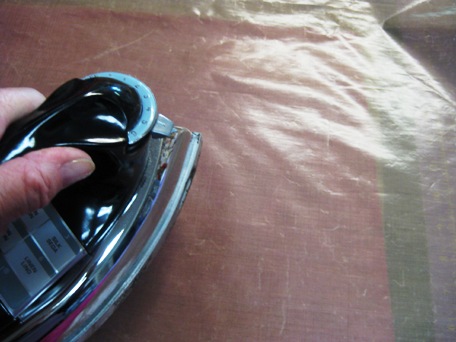
3. Cover with parchment paper or a Goddess sheet and press with a dry iron on the wool setting. Pull the parchment paper or Goddess sheet away immediately.
Let cool, and then trim the edges with a pair of Havel’s scissors
for precision cutting, so that the fusible goes to the edges.
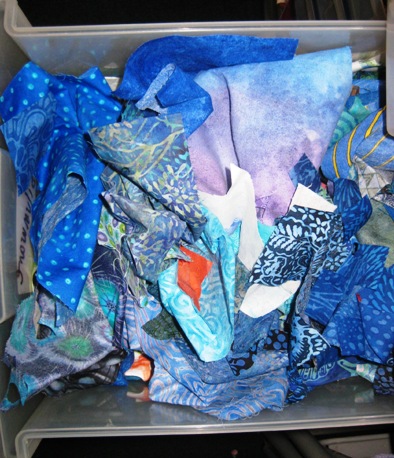
4. Scraps – I store all of my scraps by color in bin drawers.
5. In looking at your fabric selection, find the one that stands out the most for the 2 sticks that you will use at the end. My selection was lime green fabric,
and they are cut 2” long by 1/4″ wide, cut 8 pieces.
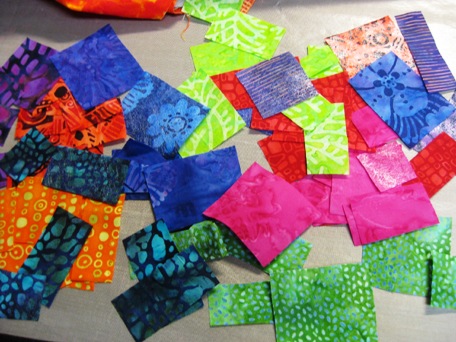
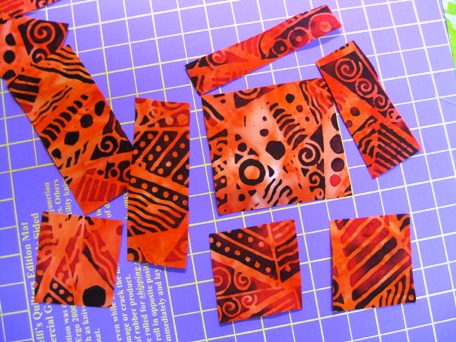
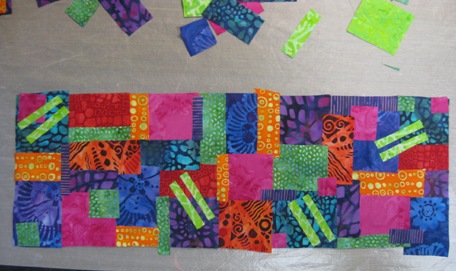
6. Proceed to cut your fabrics into a variety of squares and rectangles from 1” to 2”,
with either a rotary cutter or a pair of scissors.
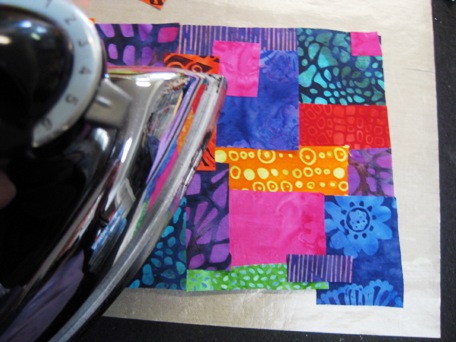
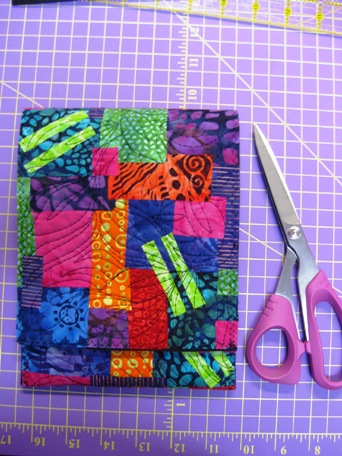
7. Begin placing the cut fabrics onto one piece of wool blended felt. You can overlap the edges with the fabrics. When you have the design that you like, iron them into place.
8. Add the fused sticks throughout the design.
9. Flip the piece over and trim excess fabric from the edges with scissors.
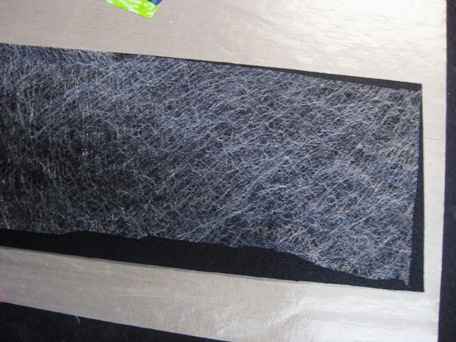
10. Cut a piece of Mistyfuse to put between the 2 pieces of wool blended felt and iron into place, like a sandwich. Iron both sides to keep it from separating.
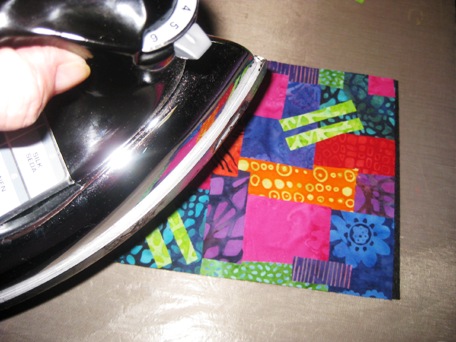
11. Press the fused fabric side with your iron, so it remains flat.
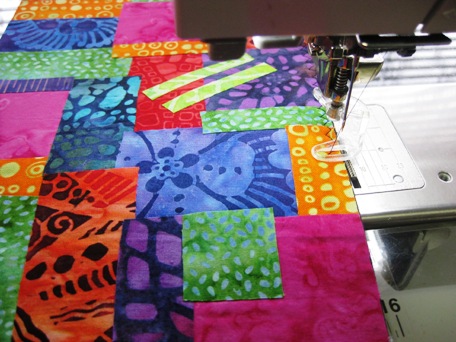
12. Thread your sewing machine with your thread selection. I used black thread for this project. Lay the fused piece under the foot, and anchor your first stitches into place,
and then proceed to zig-zag all around the piece to secure the edges.
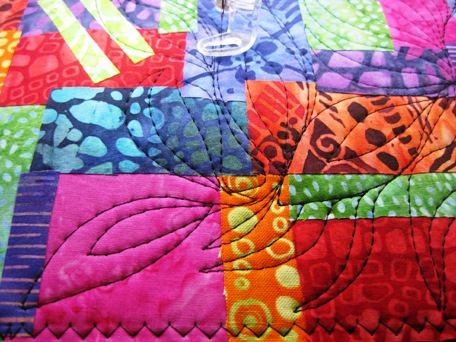
13. With a free motion foot, anchor your starting stitch by sewing it into place,
backwards and forwards. For free motion quilting, I sewed free flowing stitches
of leaves and stems, over the entire piece.
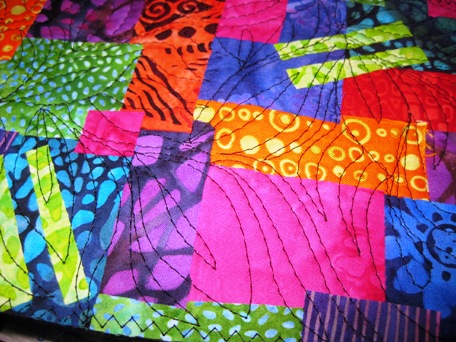
14. See the detail stitching on the fabric side.
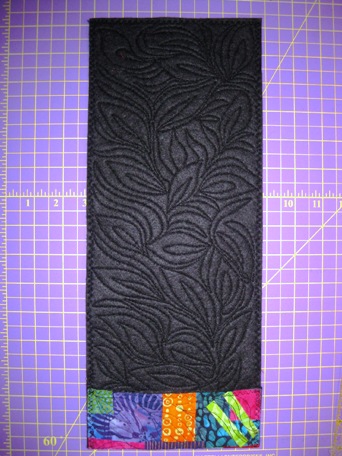
15. See detail stitching from the felt side.
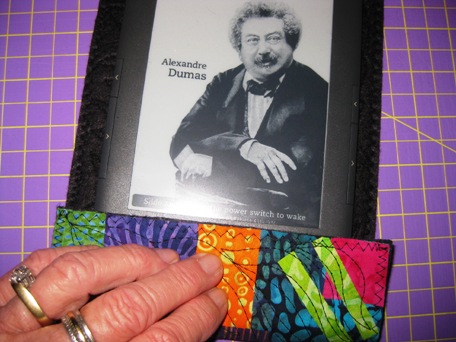
16. Get your Kindle out, and place it on the inside (the felt side),
and measure the flap, it should fit just over the keyboard, about 2”.
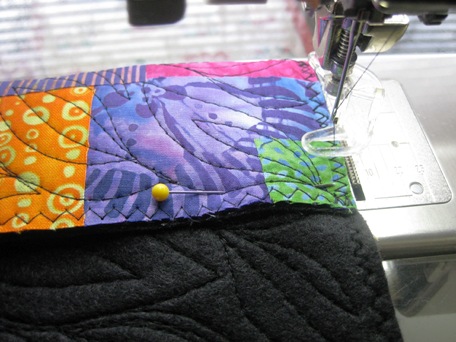
17. Pin into place, remove Kindle, and sew the sides using the zig-zag stitch
on your sewing machine.
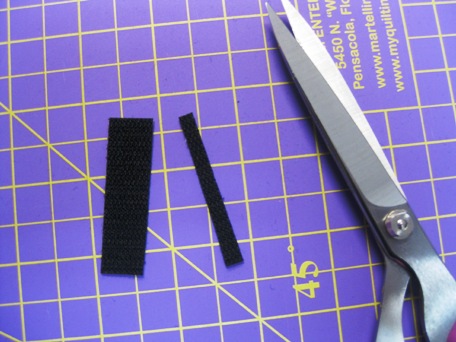
18. Cut the adhesive Velcro 2” long, and trim it just slightly lengthwise.
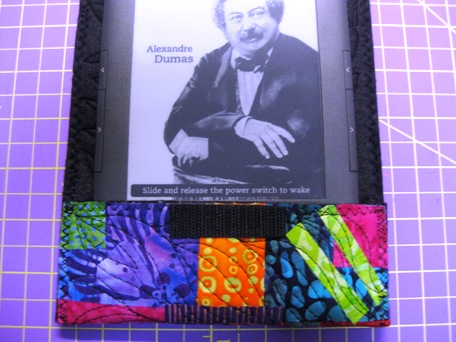
19. Flip the cover down towards the tab to measure where the Velcro
will meet up, and adhere into place.
20. Let each Velcro piece cure separately to the fabric for a bit, by pressing it
under a book for about 30 minutes before closing them onto each other.
Now you have a great cover for your Kindle or to give as a gift.
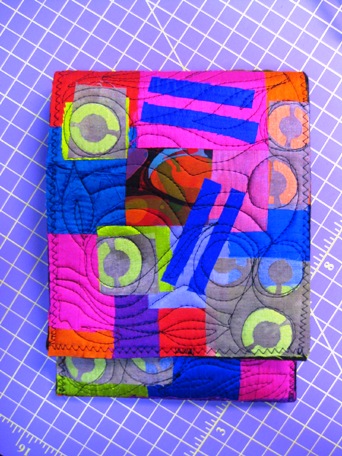
Here is another one that I made using silk scraps. I hope you enjoy this free craft project!
Jamie Fingal is an award winning artist  who lives in Orange, California and the author of “Embellished Mini Quilts”. Her whimsical and abstract work has been juried into International quilt exhibitions and featured in many books. She has written articles for Quilting Arts, Cloth Paper Scissors, Gifts, and Studios magazines, and she has two instructional DVD’s. She’s been a guest on Quilting Arts TV in Series 200, 400, 700, 900, and is most known for her playful approach to quilt making with zippers, houses, abstract and faces. Her work is in private, public and corporate collections. She is also a grown up Girl Scout and her artwork is featured on an Ecco-Bag for ABC Bakers for the 2010 Cookie Sales. Her piece “Soul Sisters” won the grand prize in the contest for the Alliance for American Quilts in 2011. Jamie says, “I believe in giving back, and coordinate the “Welcome Home” house quilt project with Furnishing Hope. I also co-curate art quilt exhibits and teach at the National level with Leslie Tucker Jenison for Dinner at Eight Artists.”
Be sure to check out Jamie’s blog jamiefingaldesigns.blogspot.com,
and if you’d like to contact her, you may email her at jamie.fingal@gmail.com
or snail mail: 960 N. Tustin Street #253, Orange, CA 92867
To see more free quilt projects click here.
For a printable PDF of this project, click here.

One Response to Craft Project: Kindle Cover by Jamie Fingal